Printmaking Portraits - Mondrian / Warhol Style (marker and classic inks)
Andy Warhol - Biography
Piet Mondrian - Biography
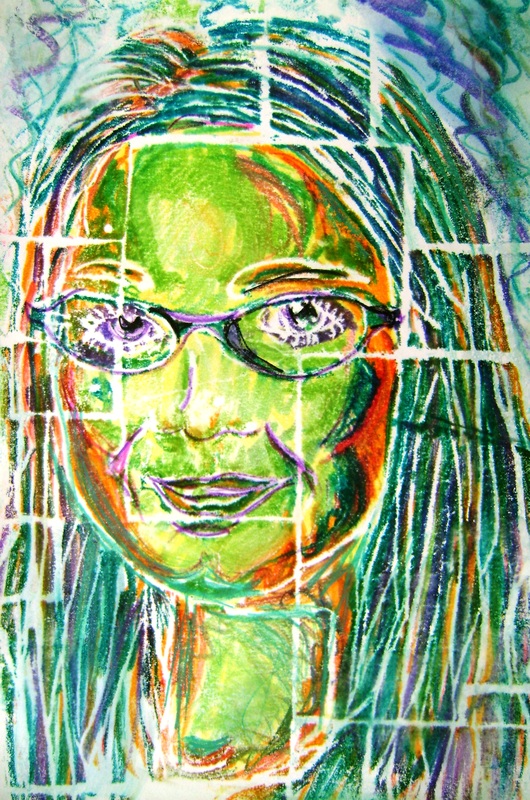
Valerie
|
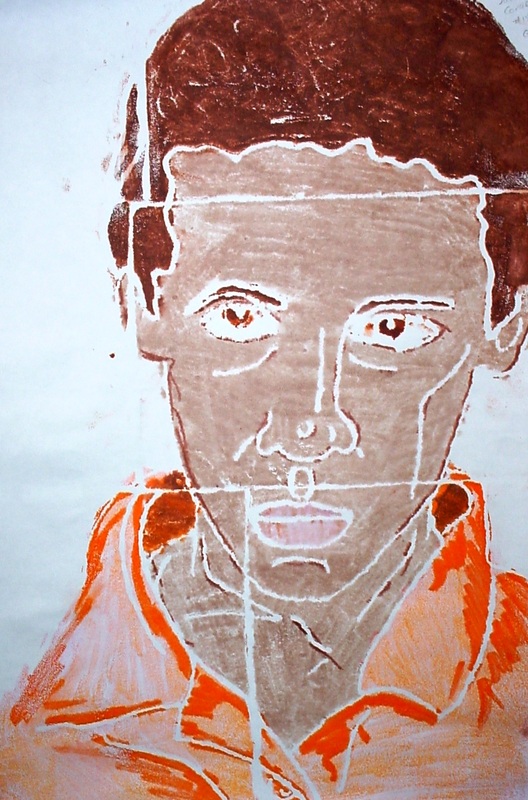
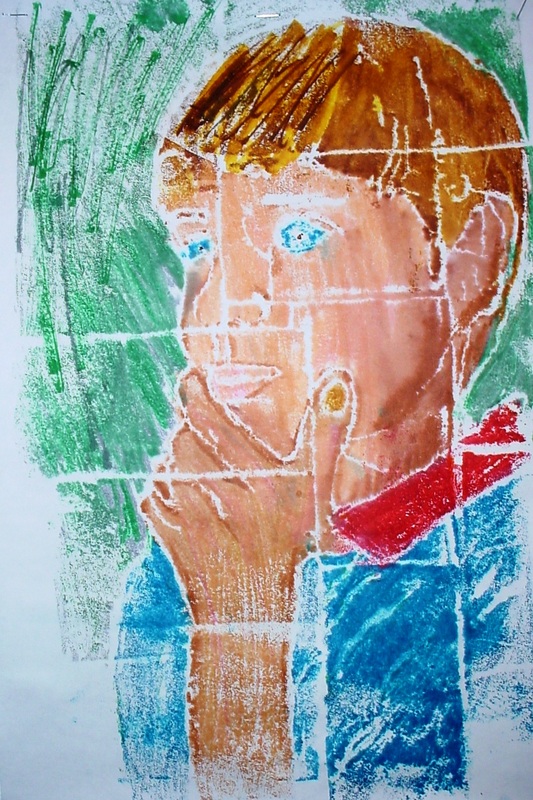
Jacob - realistic colors
|
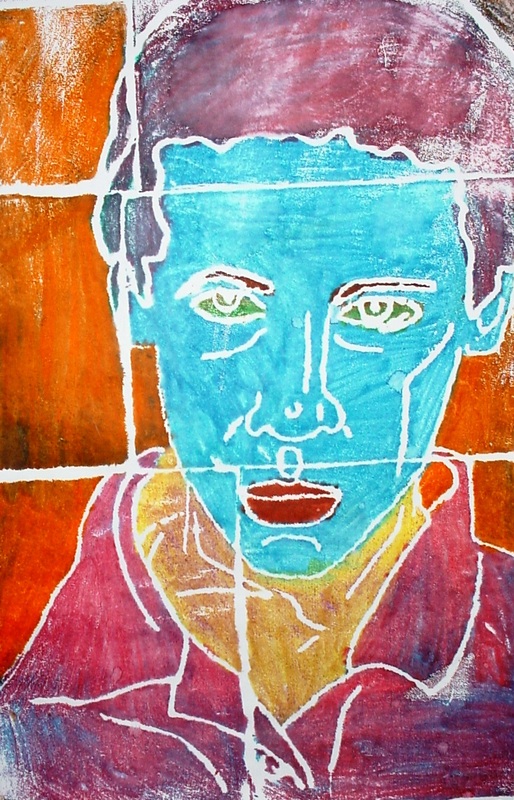
Jacob - wild and crazy colors
|
Raina
|
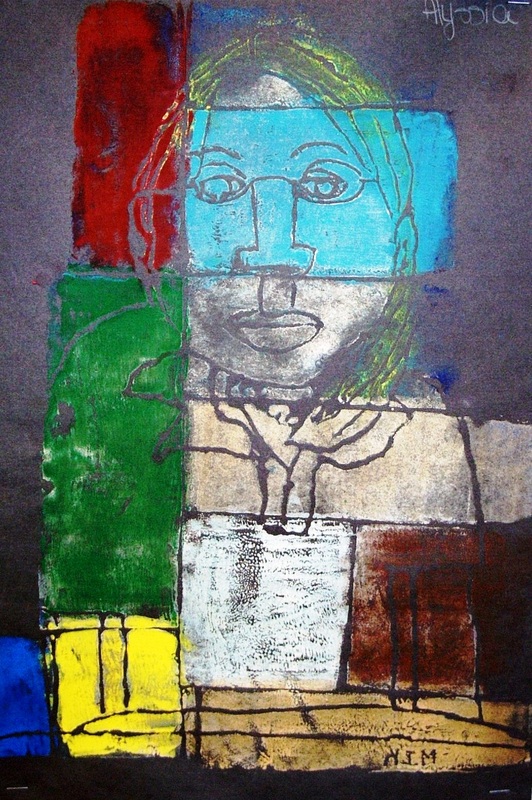
Alex
|
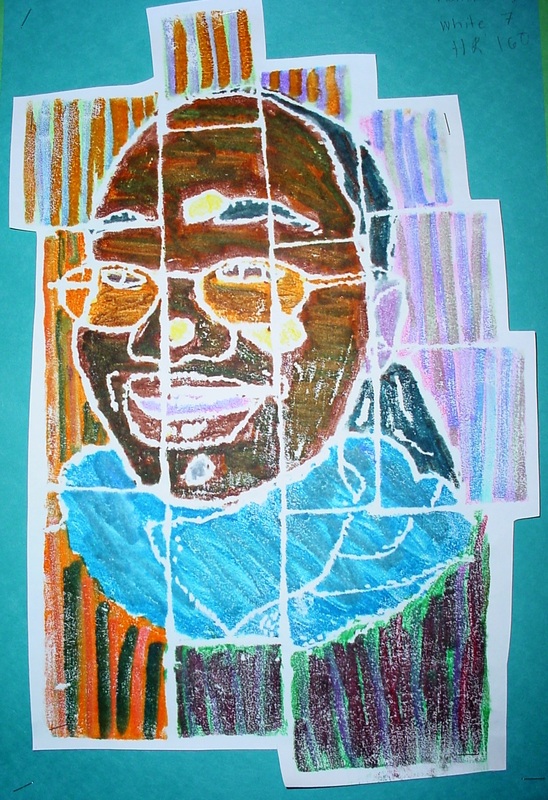
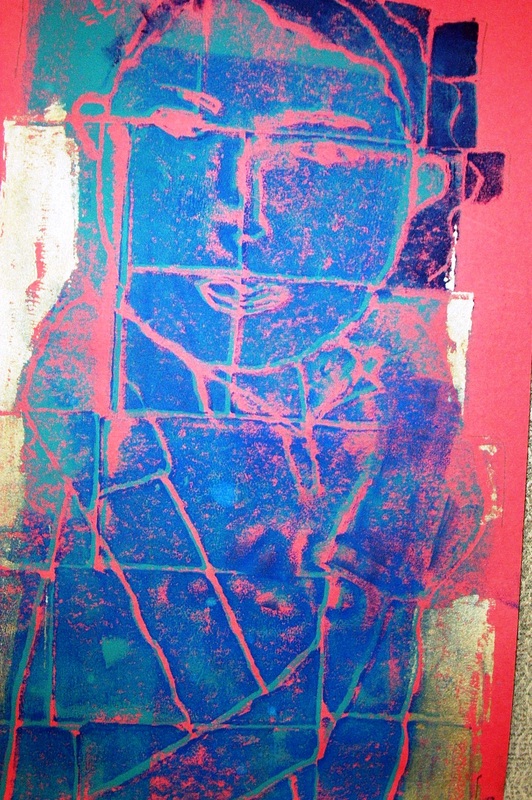
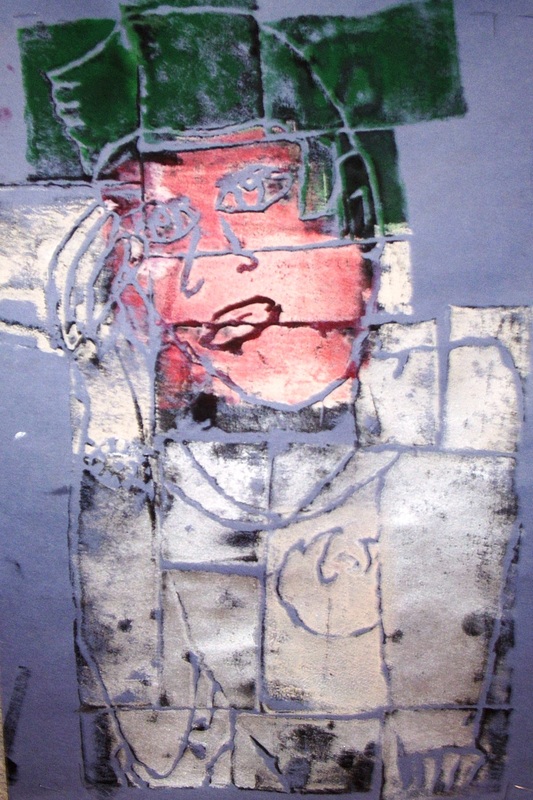
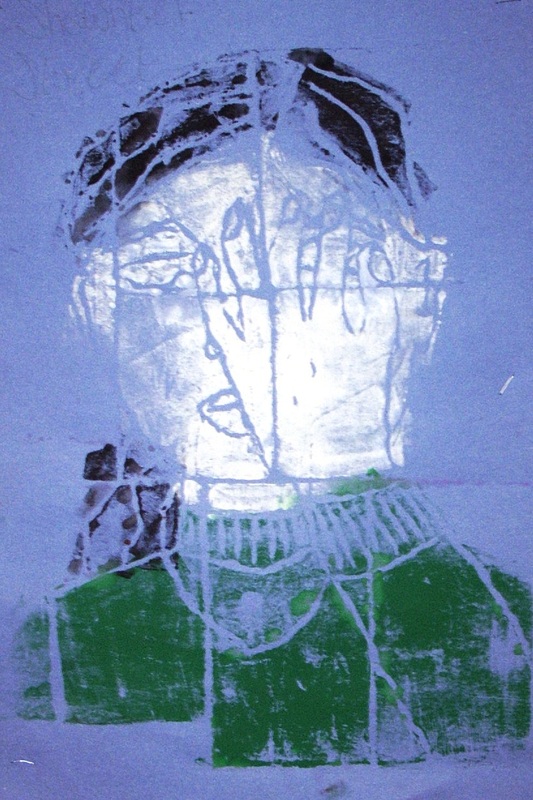
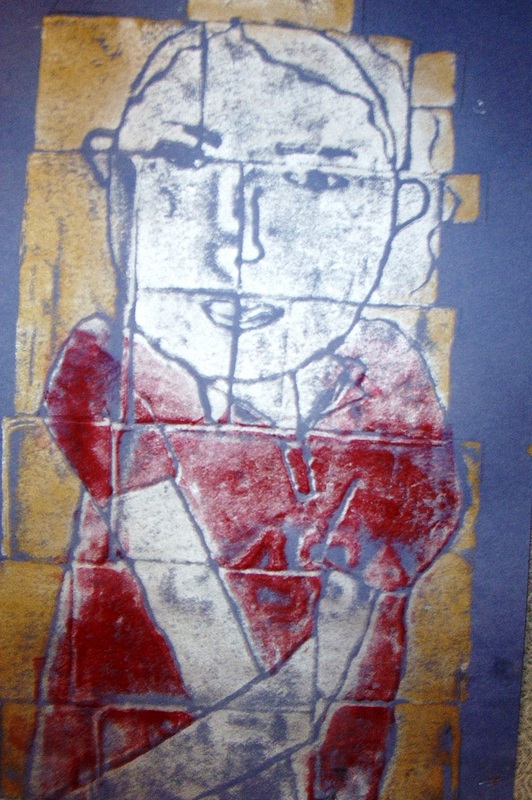
Above images have been created by tracing large scaled photographs onto a Piet Mondrian inspired Styrofoam printing plate, colored with markers and transferred to white paper. Andy Warhol and his prints are also explored. Different effects and emotions are evoked and determined by colors used. (note * 2nd & 3rd image) Experimentation is detrimental in the final outcome. The images below are created using free hand gesture drawings with the same Styrofoam plate technique. the difference being water based printing ink is being rolled with a brayer and choice of background paper selection. (note *1st and 5th image).
|
|
|
|
|
|
Big Idea: Students will create a relief print that makes use of readily available recycled trays while discovering techniques of past master artists through history.
Key Knowledge:
|
|
Design Process:
1. Cut edges of at least six Styrofoam so that you have a flat surface. No raised edges. Throw away your pieces so you have a clean work surface.
2. Create a composition in the style of the artist Mondrian and being aware to create balance on your printing plate. Tape the pieces together and be aware of the letter on the trays…they will print if they are on the printing side!
3. Trace the image you are using from your paper onto a tray using a pencil.
4. Check your pencil lines to make sure they are nice and neat. Remember! Your printed image will appear in reverse.
5. Color your Styrofoam by coloring with markers. Be sure to layer your colors and start from lighter colors and work your way to darker ones. You can also blend with your finger.
6. Wet the printing paper with a sponge being sure to keep the water even on the paper.
7. Put the wet side of the paper down…and rub with a paper towel or a burnisher. Don’t lift your paper until you know it done! Make sure you hold down with one hand so the paper does not move.
8. Repeat until you have an edition of prints.
